


If your display glass is cracked, keep further breakage contained and prevent bodily harm during your repair by taping the glass.

Use a hair dryer to heat the left edge of the iPad.
While you wait, note the location of the adhesive (highlighted in red) holding the screen cover in place. This is what needs to be loosened and cut to open the iPad.

Place a suction cup half way up the heated edge of the iPad. Be sure the cup is completely flat on the screen to get a tight seal.
While holding the iPad down with one hand, pull up on the suction cup to slightly separate the front panel glass from from the rear case.

Place a second opening pick alongside the first and slide the pick down along the edge of the iPad, cutting the adhesive as you go.
Reheat when the adhesive starts to feel stiff.


As you work your way around the top, pull the pick back and work around the camera.

There are 3 other places where you will need to keep the pick pulled back. They are indicated in the following picture.

On the side of the iPad opposite the volume controls, twist the picks slowly to lift the glass slightly, separating the last of the adhesive along the display cable edge.
If there is resistance anywhere, heat it and cut it again. Take your time with this step.


While supporting the front panel glass, use an opening pick to cut the last of the adhesive.

Once all of the adhesive has been separated, open the front glass like a page in a book and rest it on your workspace.

Remove the following Phillips screws securing the LCD.
Three 4.0 mm screws
One 4.8 mm screw

Use the flat end of a spudger to pry the LCD out of its recess just enough to grab it with your fingers.
Do not attempt to fully remove the LCD. It is still connected to the iPad by several cables at the home button end. Lift only from the front-facing camera end.

Flip the iPad LCD like a page in a book, lifting near the camera and turning it over the home button end of the rear case.
Lay the LCD on its face to allow access to the display cables.
Set the LCD down on a soft, clean, lint-free surface.


Remove the LCD.

Remove any tape covering the home button ribbon cable connector.

Use the flat end of a spudger to flip the tab on the home button ribbon cable ZIF connector upward.


Remove the front panel assembly.
During reassembly, wipe any dust or fingerprints off of the inside of the front panel assembly to ensure a clean display.

Remove the single 2.3 mm Phillips screw securing the battery connector to the logic board.

The battery is glued in place by an adhesive. Flip the iPad over, and heat the back side of the battery to loosen the adhesive.
After sufficient heat is applied, test if the adhesive is loose enough to cut away the adhesive by inserting a card between the battery and the iPad.
Start from the bottom and work your way bottom up around the side.

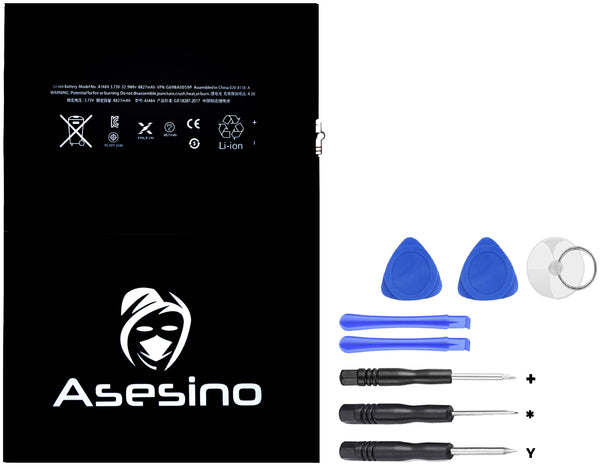
Work your way backwards to install new battery. Be sure to peel all the stickers off to expose the adhesive on the back.

